Have you ever made vanilla extract and at the end of it you could barely taste any vanilla? Or your final “extract” was more like the vodka you started with?
I’ve definitely had some weaker extracts. And I bet you have too.
Recently, I noticed that the “vanilla” I’ve been using seemed pretty weak – having been using a bottle of rum I’d infused with vanilla beans and kept topping off. Between that and a comment in a FB homesteading group, I joined a vanilla bean co-op and next thing I know I’m making vanilla paste on Thanksgiving morning and drying the strained out solids (this taught me that my blender is not great) on the smoker with the ham to make powder… iykyk.
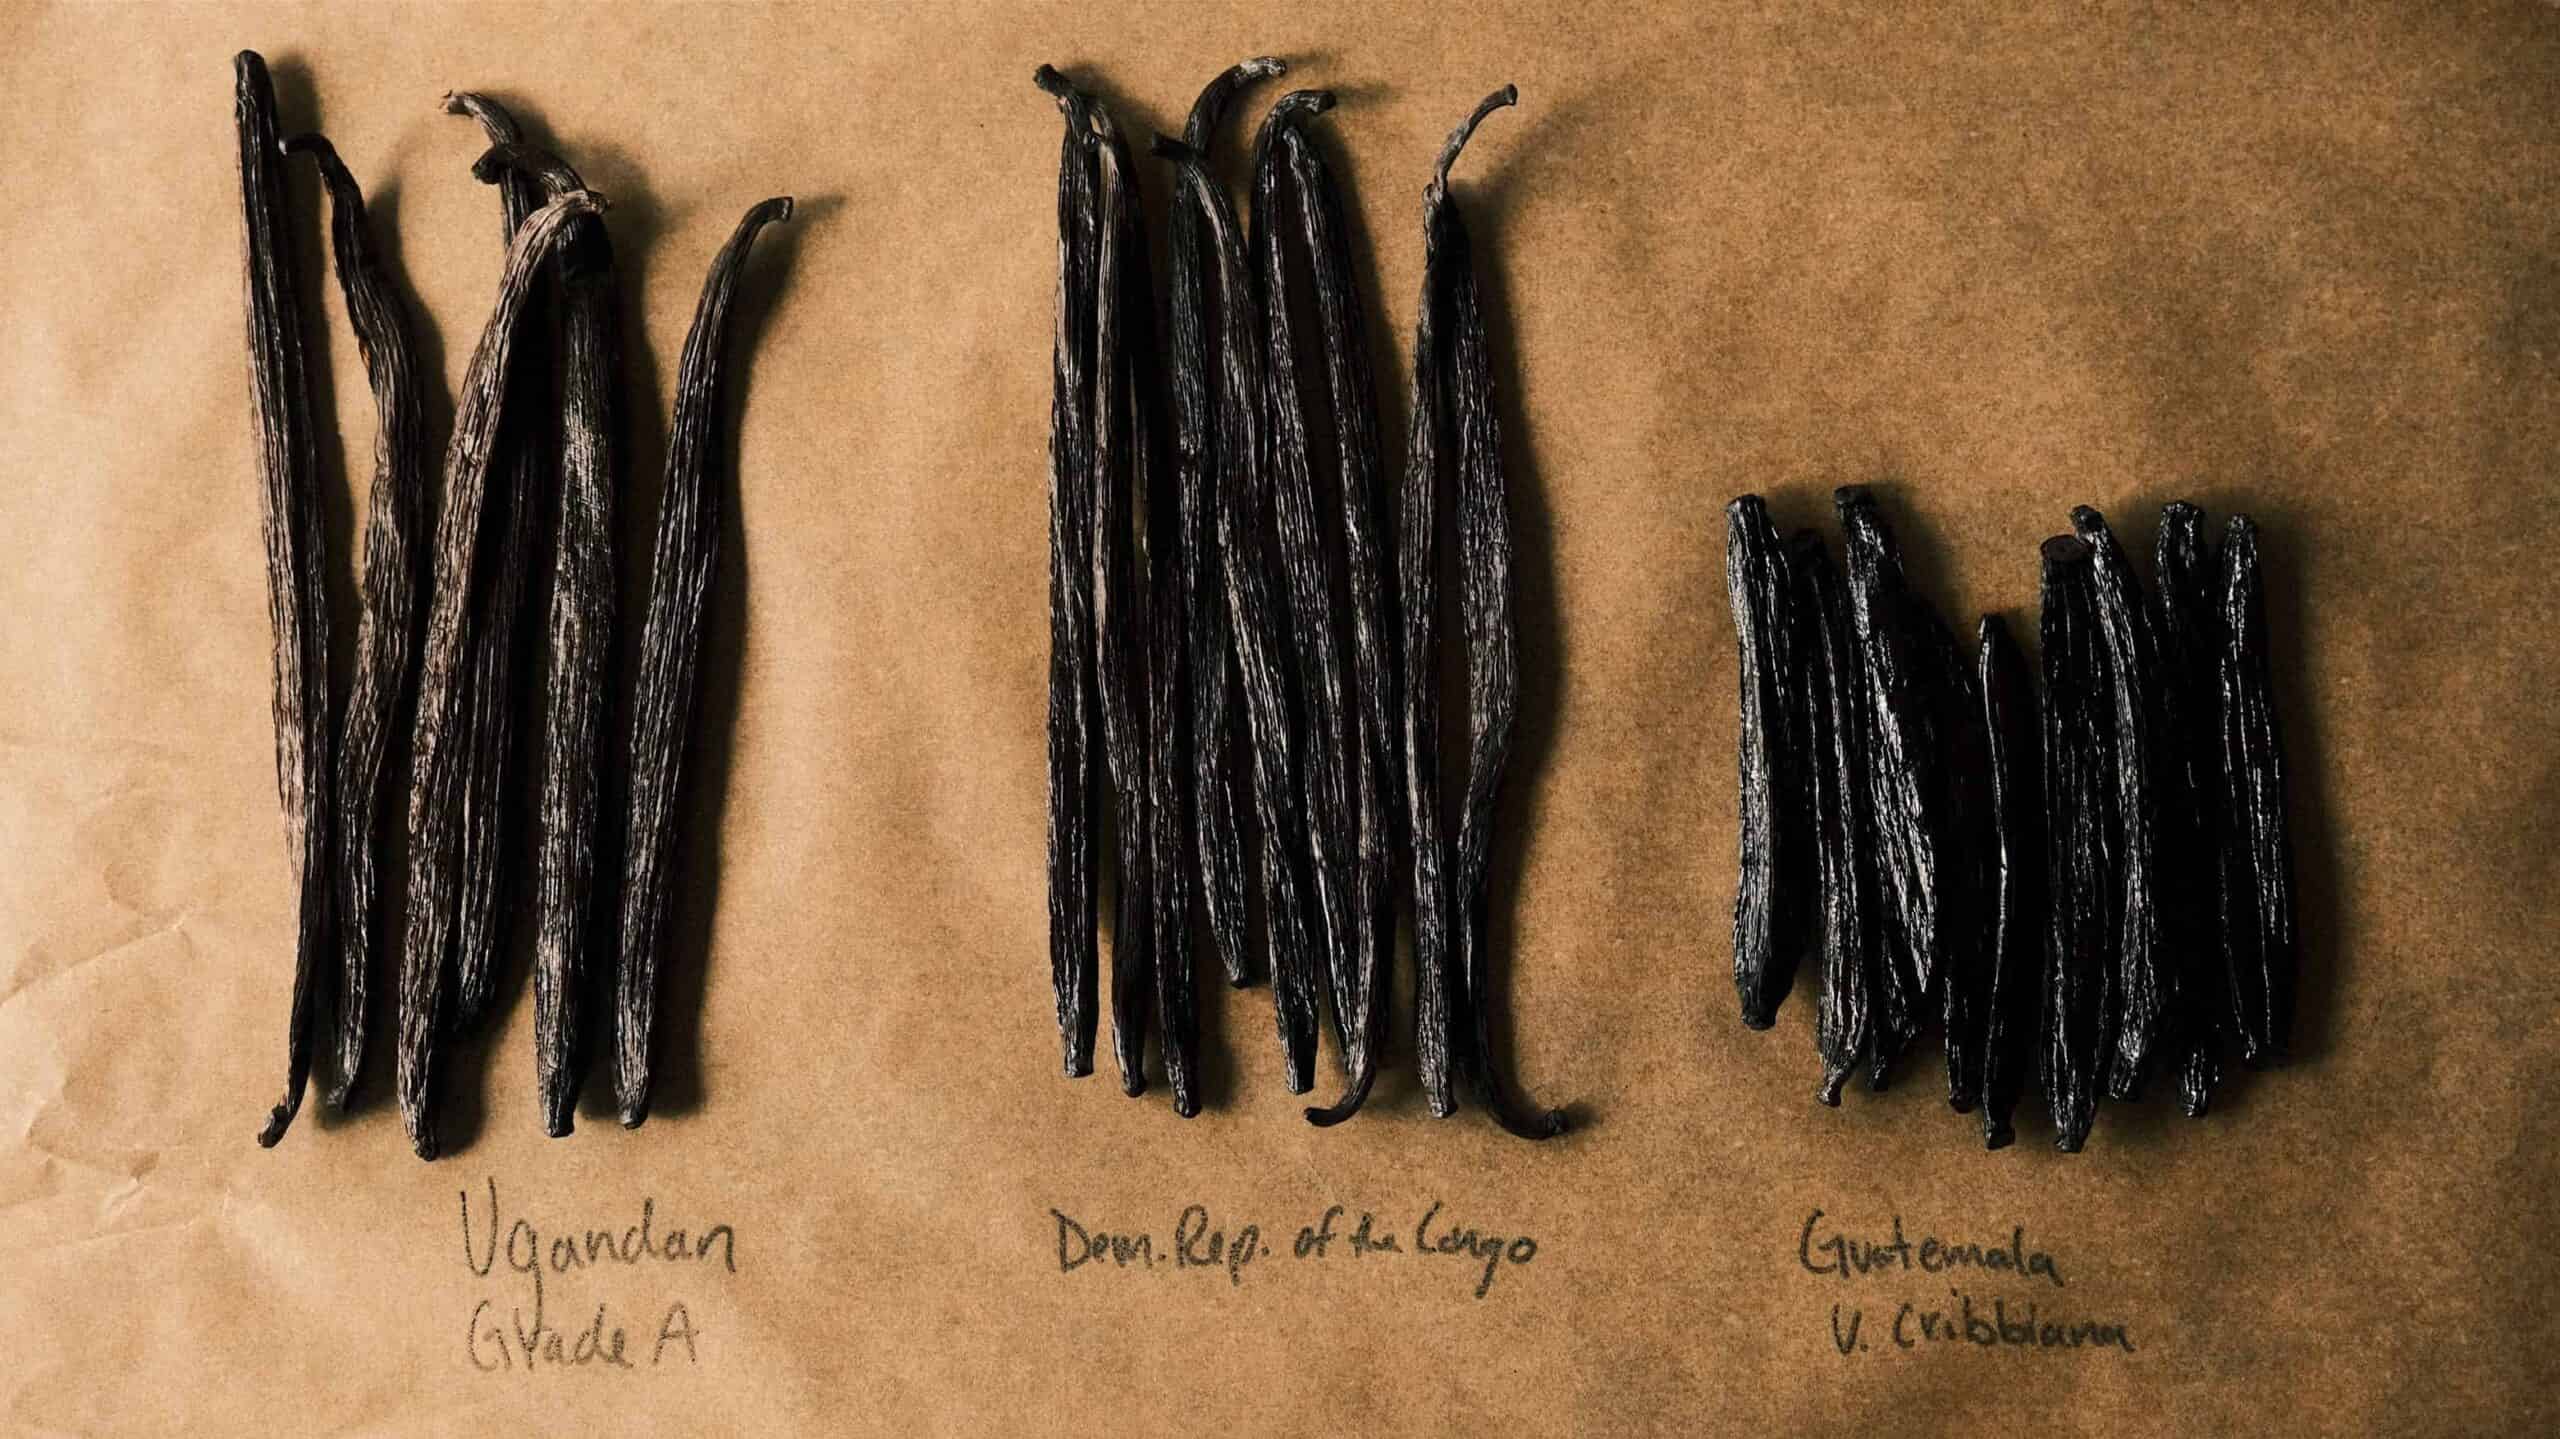
Per the FDA, vanilla is considered to have at least 13.35oz of vanilla beans (of 25% moisture or less) per gallon of extract. Generally, this means for vanilla extract you need just under 1 oz of vanilla beans for every cup of alcohol. This is called a single fold vanilla and is the minimum level of infusion to be considered an extract and not just vanilla-flavored alcohol. In other words, you need to measure your beans by weight – not count. The easiest way to remember the measurement is 1:1. That is 1 oz of beans by weight to 1 cup of alcohol by volume.
To demonstrate why you wouldn’t want to make this based on the number of beans, see below. Both images are 1 oz of beans, does this look like the same number of beans to you?


My favorite source to buy vanilla beans is IndriVanilla – both their retail site and their facebook group buys. They have great quality beans and focus on fair trade practices.
Vanilla extract is literally one of the easiest things you can make in your kitchen – the hardest part is waiting for it to be ready!
Basic Vanilla Extract
Equipment
- Scale
- Glass jar
Ingredients
- 1 oz vanilla beans you can add more for a stronger extract
- 1 cup 70-100 proof liquor of choice vodka or light rum are recommended
Instructions
- Put your vanilla beans in the jar
- Pour the alcohol in with the vanilla beans
- Label your jar so you know when it's ready and don't throw it away
- Wait 12 months (this is the hardest part)
- Happy baking!


